Dehydrated Banana’s…YUMO!!!

How many times have you been left with bananas that you justdidn’t know what to do with, or you saw a good sale and wished you could buy abunch of them… no pun intended, and keep them for future use. I know somepeople like to freeze them for smoothies etc., but here’s another great idea.

Why not dehydrate them? I was blessed with a dehydrator forChristmas… So now I am in my kitchen trying things fast and furious to see howthey turn out.

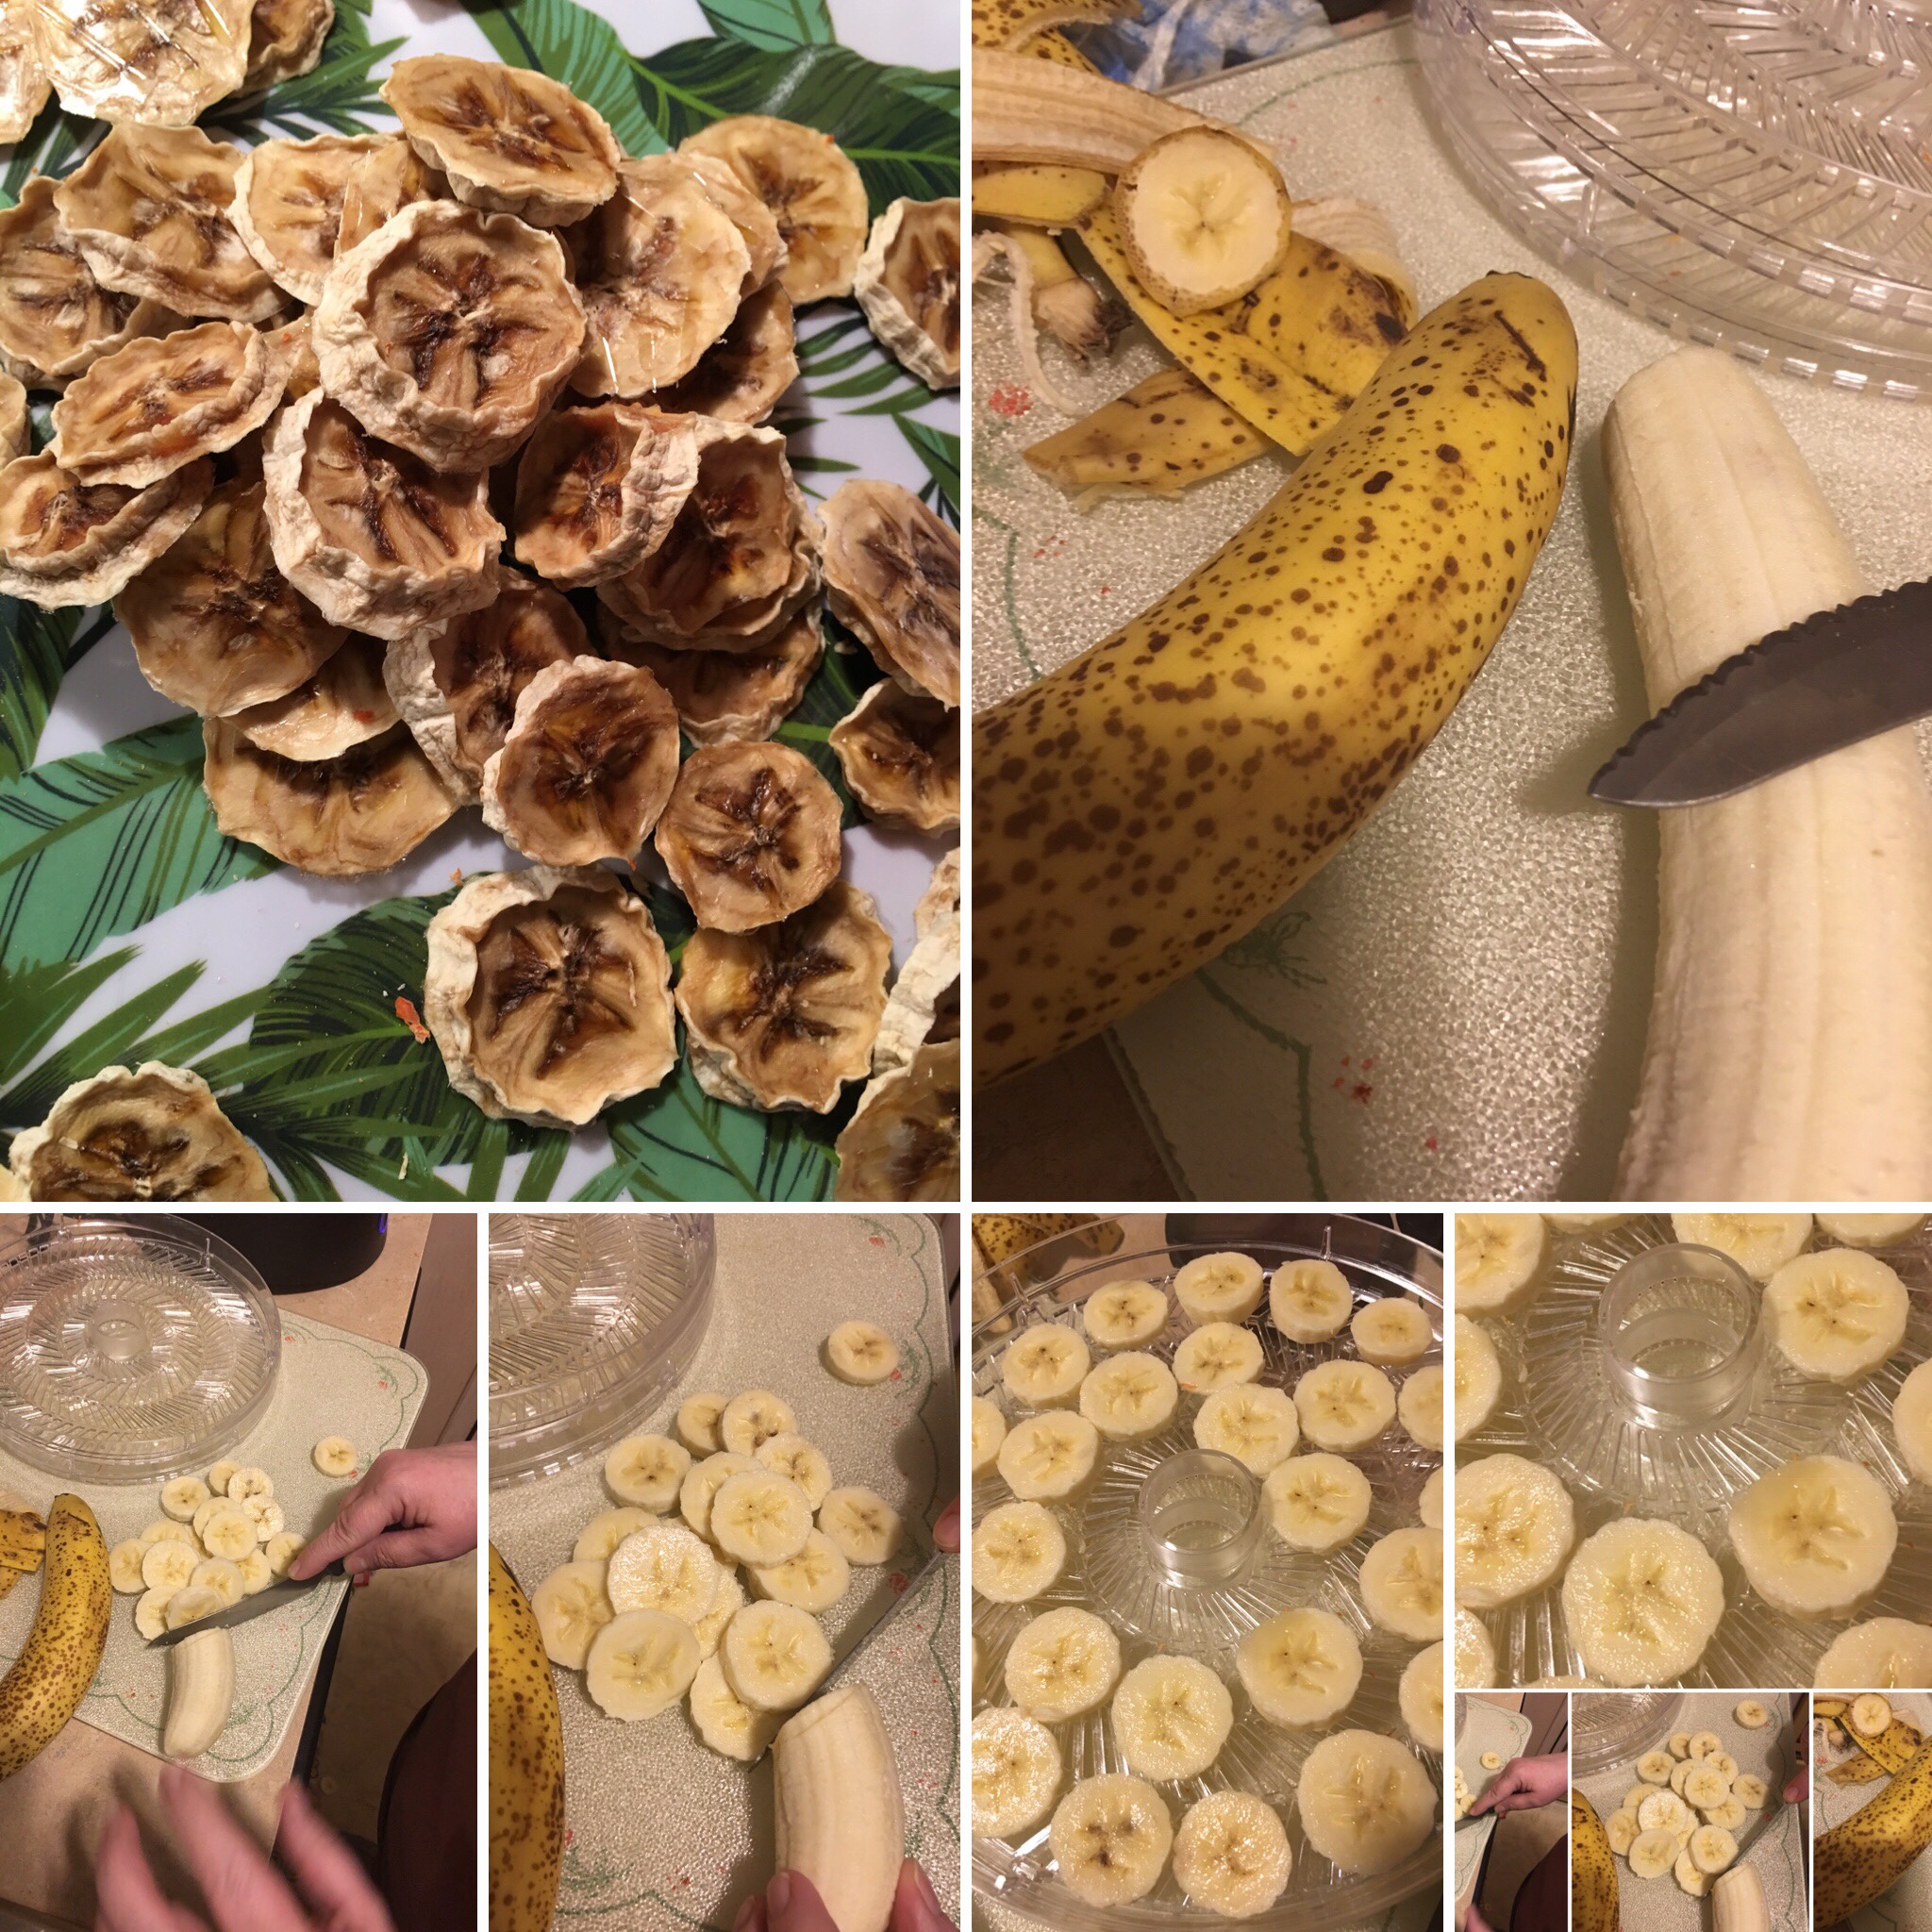
This was one of my first attempts. I saw a lot of recipes whereyou could dip the banana slice in lemon juice, but I decided to go completelynatural and they are absolutely delicious.

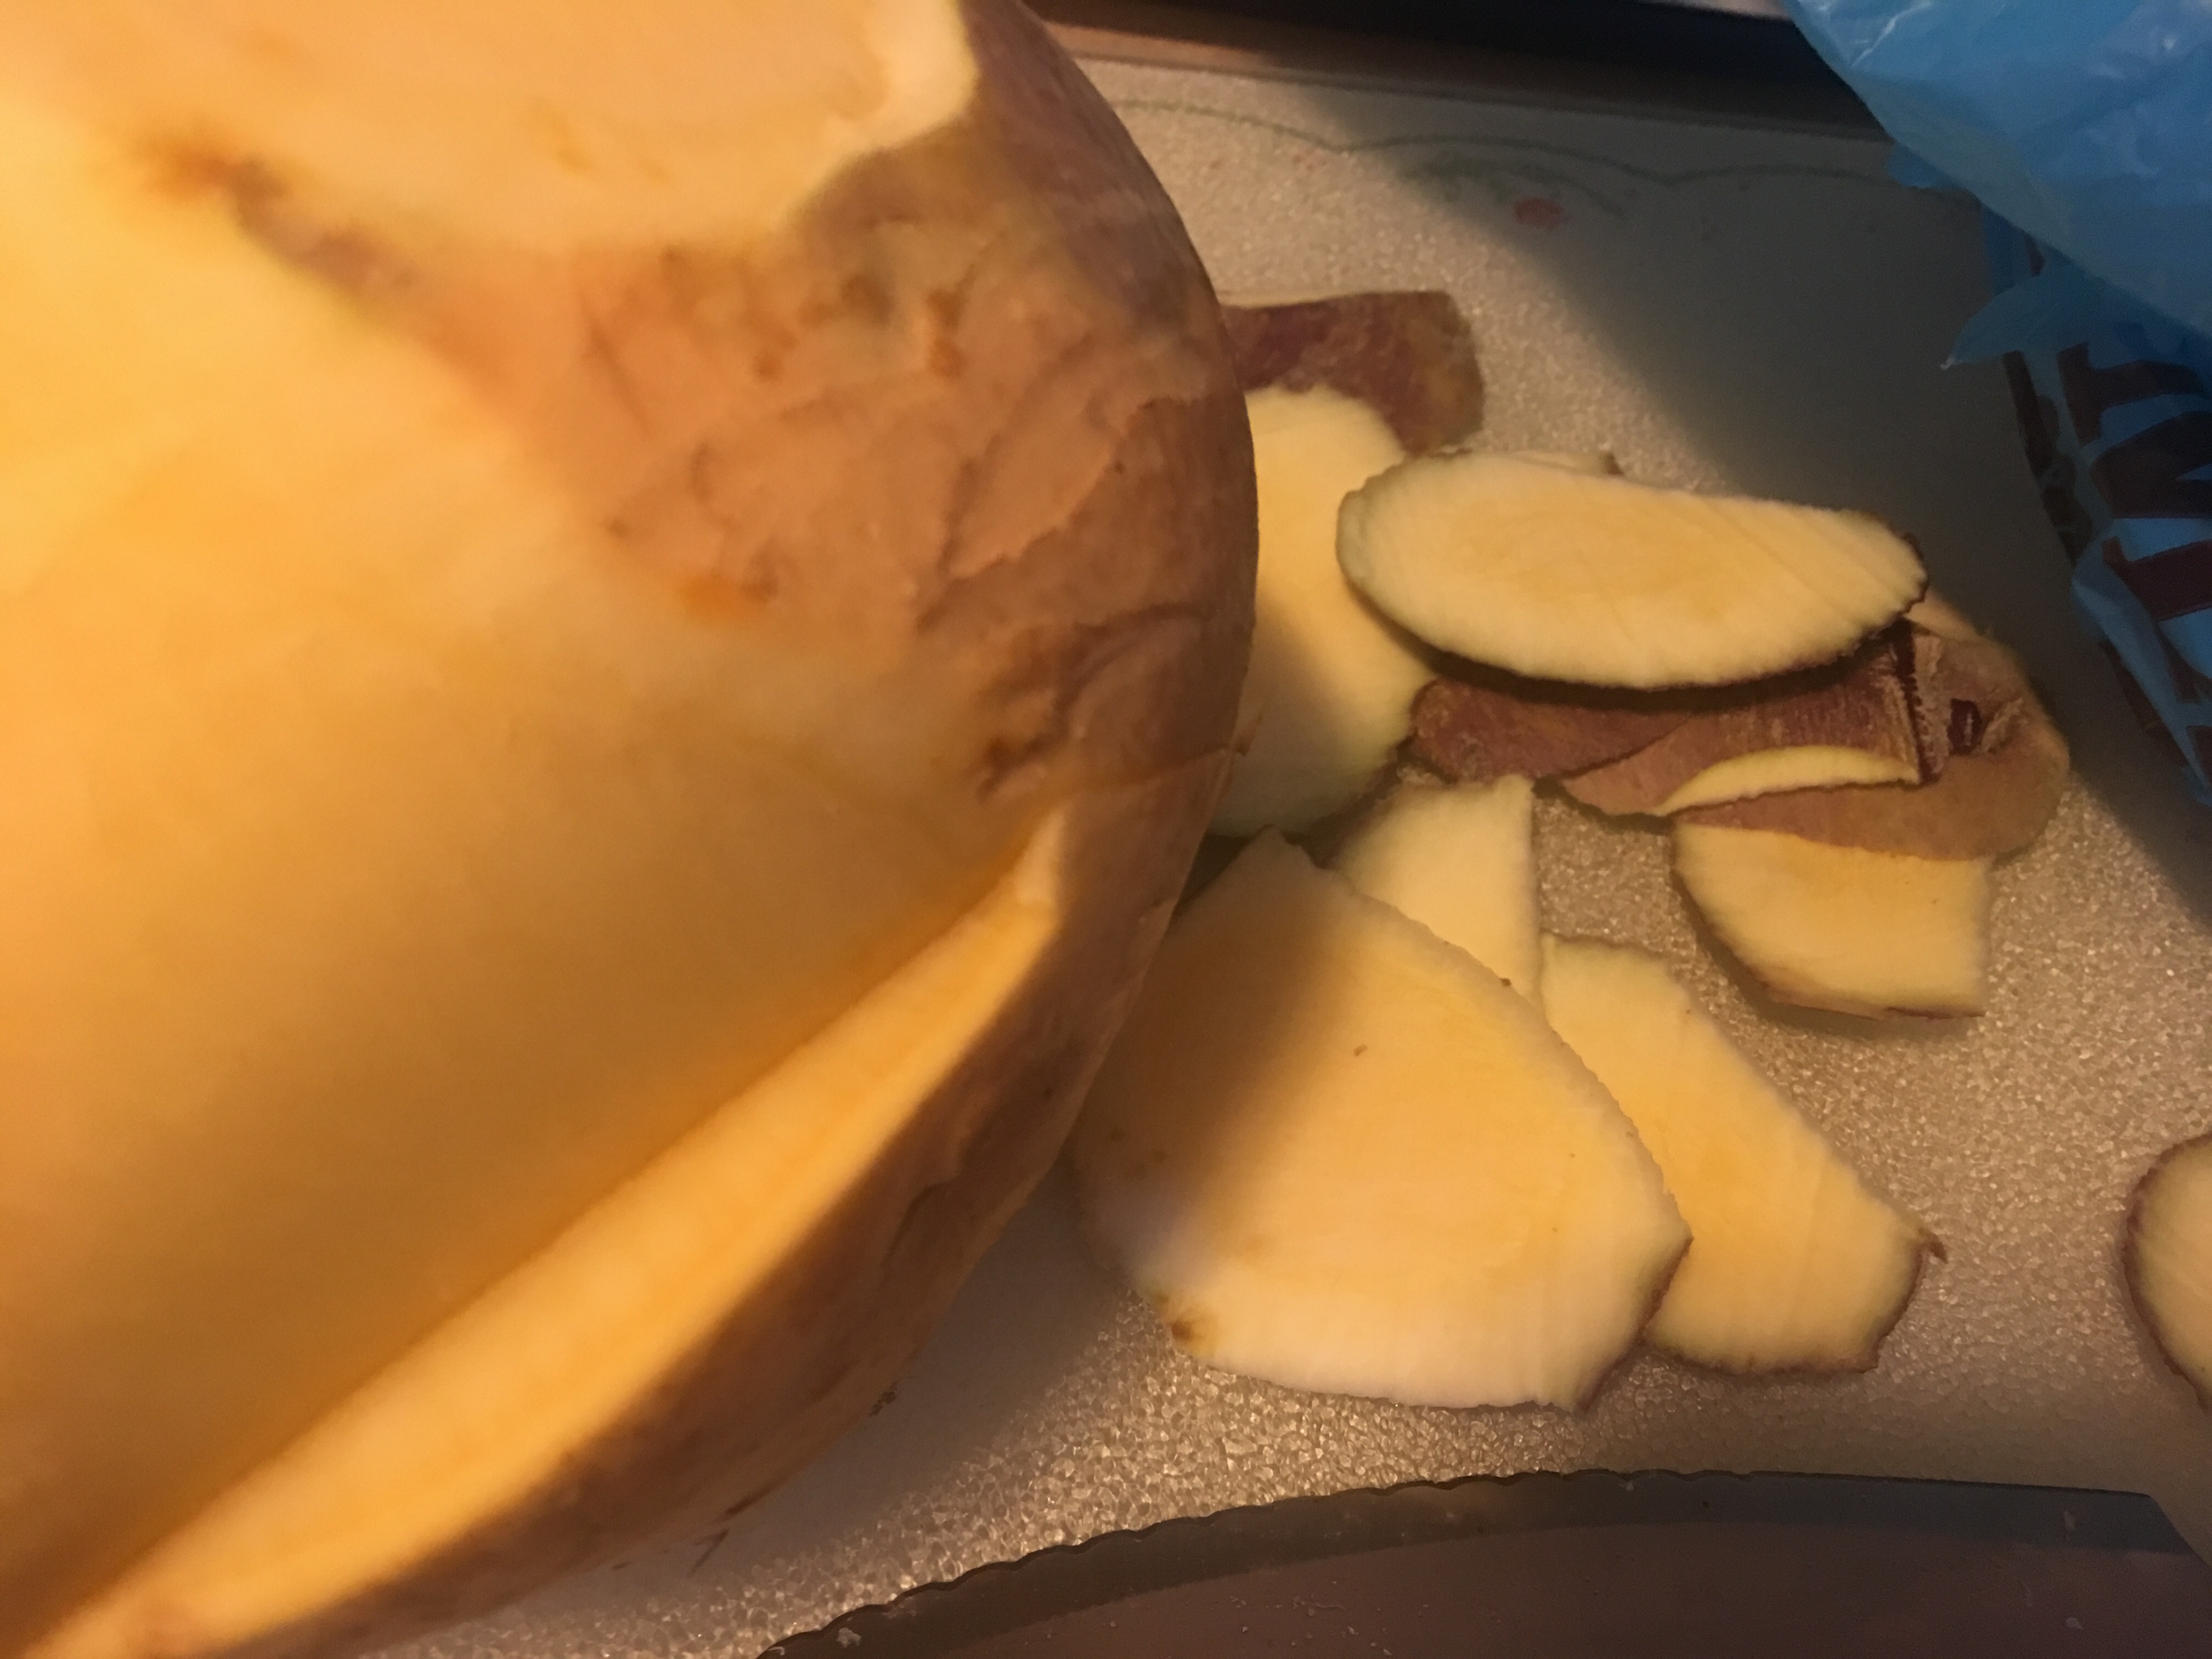
  • Peel the skinsoff, and I also sliced off a little bit off of each end.
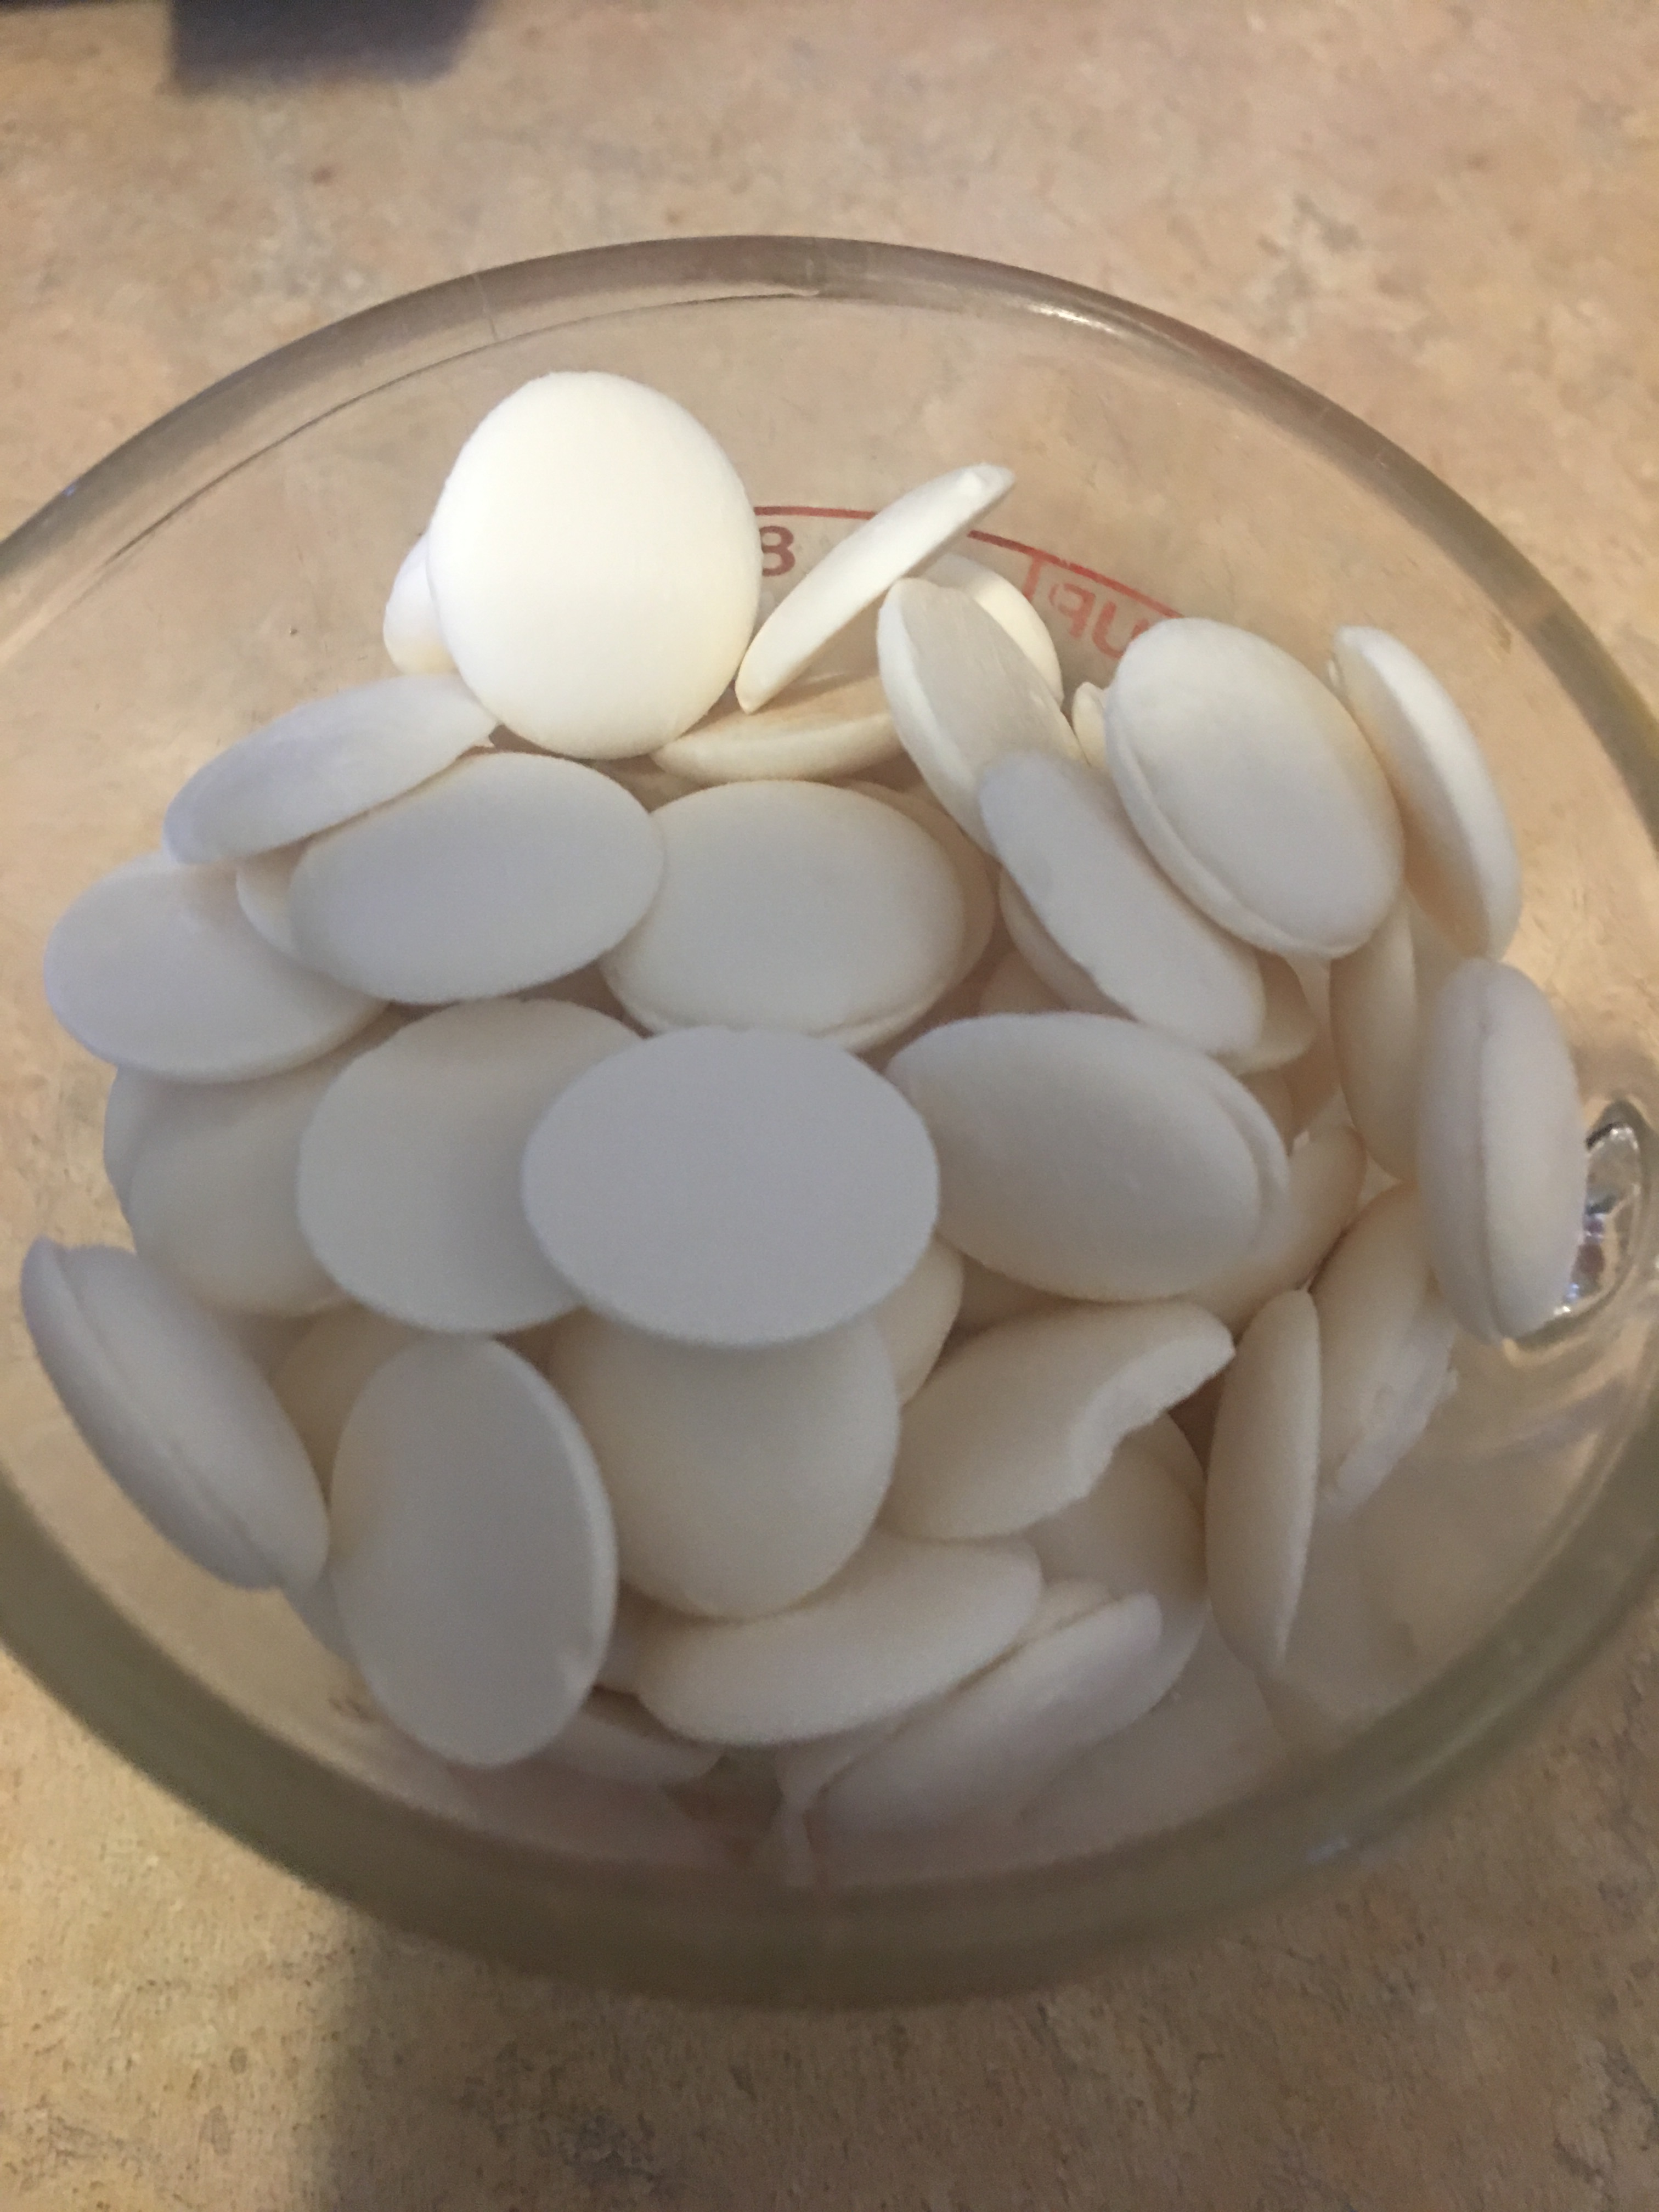
  • Then slice eachbanana into quarter inch slices.
  • Lay them on thetrays so that they are not touching each other, otherwise they will end upsticking together.
  • Depending on yourdehydrator’s instructions… Set your dehydrator to the correct setting forfruit. My dehydrator is just one setting. Or you can place them in the oven ona baking sheet lined with parchment paper. Turn your oven on to the lowestsetting and let it dehydrate that way.
  • My banana slicestook about 12 hours in the dehydrator and about eight hours in the oven todehydrate completely. From everything I understand they need to be dry, not wetto the touch, and leather like in feel.
  • They will stick alittle bit to your trays when they are done… but with a little tug they peelright off.
  • Store in anairtight container, a mason jar, or a storage bag.

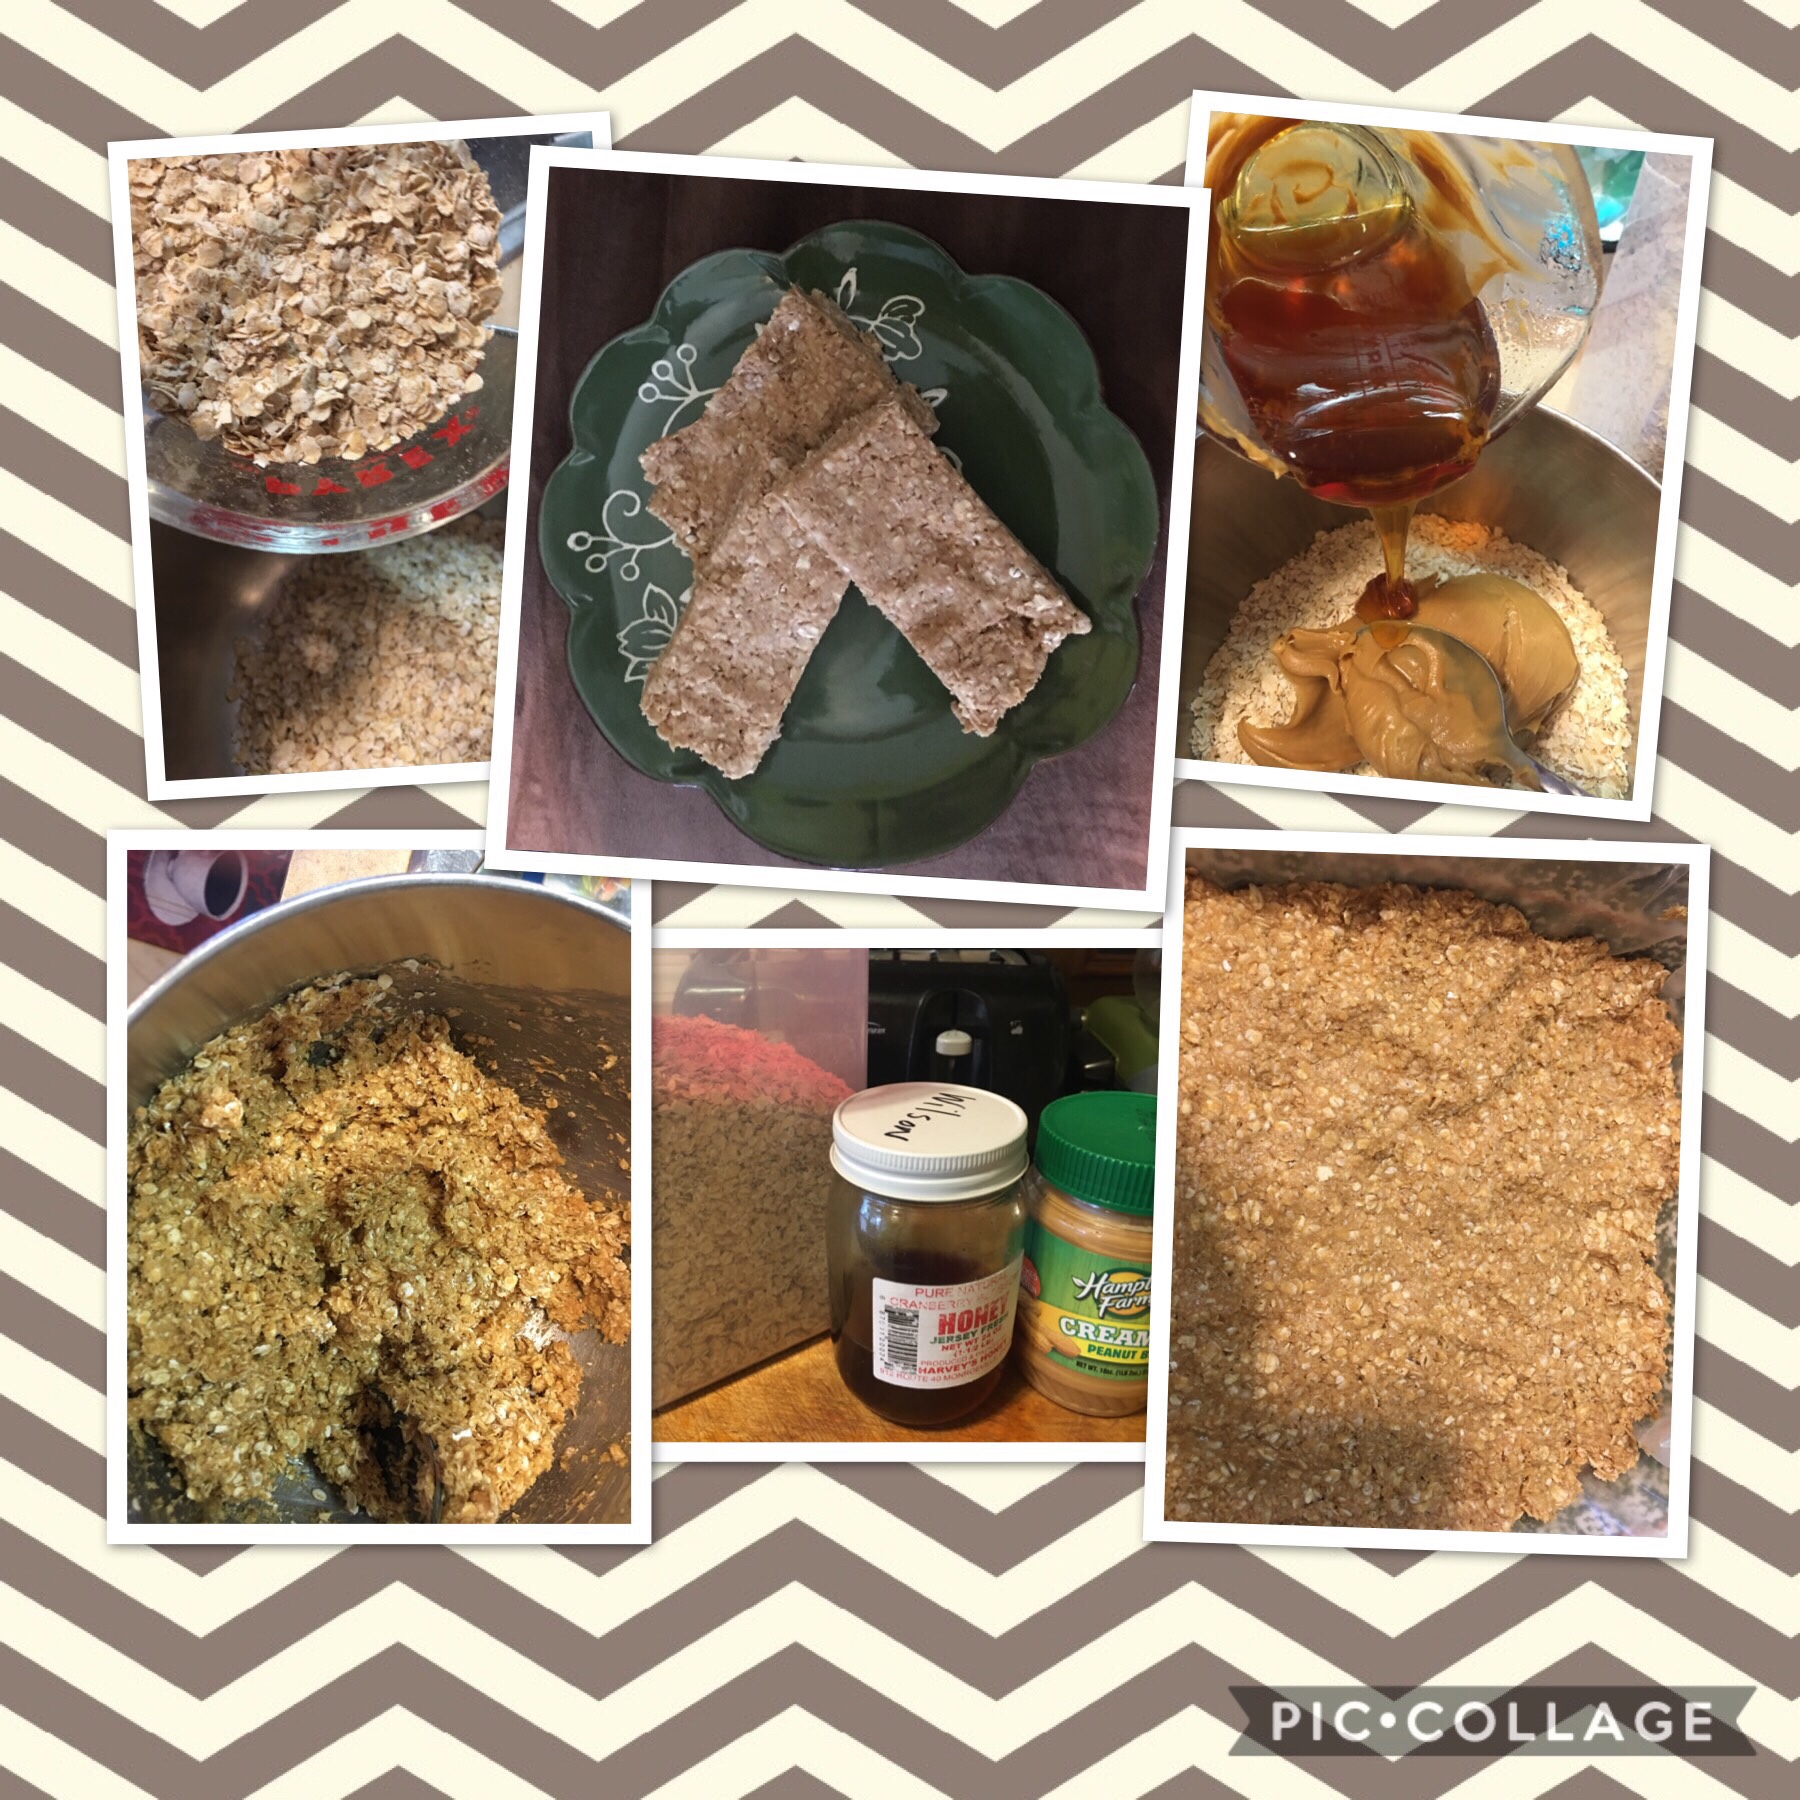
A great way to have a healthy snack… Or add to your oatmeal inthe morning.

Comment below if you have ever hydrated bananas and what yourexperience has been. Have you done it with or without lemon juice… addedcinnamon or honey? I’d love to hear from you!

From Lynn’s kitchen…

Lynn A. C. Wilson – Resume of a Mother

Oreo cookie truffles… Quick & easy!

Need a quick and easy cookie swap idea or a holiday treat for your table… Try these truffles out. This was the first time I ever made them, and it definitely will not be my last. They were so quick and easy… and they were a complete hit at our Thanksgiving dessert table.

Ingredients needed:

  • A bag of Oreo cookies or similar
  • One 8 ounce block of room temperature cream cheese
  • Candy melts of your choice of color
  • Sprinkles

How to assemble:

  • Take about 30 to 35 Oreo cookies and crush them in a bowl or chop them up in a food processor to the consistency of cookie crumbles.
  • Add in room temperature cream cheese and mix together
  • Place in refrigerator for about 30 minutes to chill
  • Take mixture and roll into small balls on a cookie sheet layered with wax paper
  • Please entire cookie sheet with rolled balls on top of the wax paper into the freezer for about 15 minutes
  • In the meantime melt down your “candy melts”
  • Remove the cookie sheet from the freezer and dip each ball into the melted chocolate’s and place back on the cookie sheet.
  • Add sprinkles to the top of each chocolate covered truffle
  • Let cool for about 20 minutes… And it will be either ready to eat or ready to package up.

A side note… I totally dipped most of them in the melted chocolate and only a handful did I swirl chocolate on the top of the chocolate balls. Unanimously it was voted that the truffles that were completely dipped in chocolate came out the best.

Lynn A. C. Wilson – Resume of a Mother

Instant pot… Turnip

I absolutely love having turnip at our Thanksgiving meal and or Christmas holiday dinner table. This year I found some nice large turnips at one of the Amish farms, and as much as I love turnip I dreaded the thought of having to cook it once again.

So this year I decided to give it a try in the Instant pot. Never again will I boil it on the stovetop for what seem to be an endless amount of time.

Here is how I cooked it…

It is called Turnip or waxed Turnip

Cut the outer skin off very carefully with a sharp knife

Continue to cut until you have a clean turnip.

Once clean… Rinse off and start cutting into cubes.

Try to cut into similar sized pieces.

Give it a nice rinse.

Pour into the Instant pot and add a 1/2 to 1 cup of water, depending on how much and how large your turnip is.

Use manual pressure at 4 minutes, once done use the rapid release.

I use a plastic measuring cup in place of a steam cup when I do a rapid release.

Open the lid and carefully check with a fork to make sure they are as tender as you would like.

I add one stick of butter, and salt and pepper to taste.

Use a potato masher to break up the turnip to the consistency that you like.

Pour into your favorite bowl and enjoy as a delicious side dish.

Lynn A. C. Wilson Resume of a Mother

Hubbard Squash and pumpkin Goodies

At one point we became members of a 4H group… for a fund raiser they would make pumpkin pies to sell at a annual fall festival. People swarmed over to our table to get these homemade pumpkin pie’s as if they were something really special. Being new to the group I couldn’t figure out what was so interesting about these pies… since it didn’t looked any different from any other pumpkin pie I’ve seen in the local supermarket. So I had to ask them what the secret was… and they shared it with me, it was Hubbard Squash.

First of all I have never heard of that style squash… and when I went to look for it here in New Jersey I had a hard time finding it. One fall afternoon we were in Pennsylvania… and I spotted this weird looking blue colored squash, when I asked them what the name of it was lo and behold it was “the Hubbard squash”. Absolutely overjoyed that I found it… I picked it up for just a couple of dollars and brought it home.

At first glance I thought I would just cut it into chunks and cook it down like I would for a pumpkin. There was no way in the world unless I got an axe that I could actually cut into this thing. So I decided to put the whole thing in the oven and cook it down and it took about 12 hours. So I have continued doing this for the past 12 years or so.

One of our favorite outings is to go to Pennsylvania and hit the Amish farm markets in the Fall. There I can get a 5 to 7 pounds Hubbard Squash… anywhere from $3 to $5 dollars. This is a good size to make several loaves of bread, muffins, soup and or cookies. It freezes well… And taste just like pumpkin but even better!

Here are a few pictures of it going into the oven, what it looks like coming out of the oven, cutting it open and scooping up the pulp etc. I will put it in freezer bags… and freeze it for when I need to bake. Check out this funny looking squash… try it out and taste and see how delicious it is! Let me know if you have any good pumpkin bread recipes to share!

Before going in the oven…

img_2602-1

After cooking on 200 for about 10 hours…

img_2635

The first cut before cleaning out the pulp…

img_2636

Cleaning out the seeds….

img_2637

all cleaned out….

img_2643

yummy pulp for pumpkin pie, bread, soup, muffins and cookies….

img_2644

Lynn A. C. Wilson – Resume of a Mother

img_1773-5

Essential Oil Candle

This was something new for me to make… an essential oil candle. I have joined an essential oil’s club where you receive a check each month. The kit usually includes a project, four different oils, and about six recipes and any extra ingredients that you might need to make them. My kit is through a company called “Simply Earth”… and so far I have really enjoyed using all of their oils.

They included the recipe, a candle, and Himalayan Sea Salt to make this candle. They recommend that the candle does not sit directly on the salt… So I was able to find a candle holder at the dollar tree and also one at Michael’s crafts.

The recipe was easy… take the Himalayan sea salt, are used 10 drops of orange oil and 10 drops of fennel oil. I mixed it together in the salt. I then put the salt at the bottom of the glass jar… attached the glass jar lid with the extended candle holder, added the candle to it and then lit the candle. The fragrance in the kitchen was excellent and we really enjoyed the scent of the mix of the two oil’s.

Here’s a copy of the recipe card and some pictures of what I used and how I put it together. img_2605img_2606

img_2607img_2608img_2609img_2610img_2611img_2612img_2613

Lynn A. C. Wilson – Resume of a Mother

Homemade Laundry Detergent! Yay or Nay?

I used to watch people make their own detergent and I thought that they were nuts!!!! I could not understand why anyone would take the time to do this when you could go to your local grocery store with a coupon in hand and catch a good sale and purchase some that was already made up in a pretty bottle.

I am on a kick to make everything homemade these days…that I can make for our home. I really enjoy making things for my family whether it be for a delicious meal, something pretty for the house… or even laundry detergent.

We struggle with hard water/ high iron and my wash has never looked better after making this detergent. My cloths stay newer looking. I love the simplicity of it…simple to make, simple to use and no fragrances to deal with.

When I make a batch it seems to last me about 6 months or so and it costs about $7 to make. I tend to use a little more in my wash since I usually only do extra-large loads and also I use a little more than normal due to the hard water. (Normal amount would be 1 tablespoon per size of load… For example 1 tablespoon for small, 2 tablespoons for medium load.) But all in all for $7 and it lasting 6-8 months, I think that is pretty good deal. As well as I just down right like it!!!! When is the last time that you only paid $7 dollars for laundry detergent that lasted you six months?

Here is my recipie….hope you enjoy it. Let me know in the comments below if you make your own and if you like it. Also do you have any other different recipes to share?

Homemade laundry detergent recipe:

I will let you know I get a big tub and I dump all the ingredients into it. I then store it in an airtight container… and I put some in a smaller container to use on a daily basis. On the larger container that I store the bulk of it in… I have the recipe written on the lid of it so that I always know where to find the recipe.

Lynn A.C. Wilson – Resume of a Mother

Quick and easy breakfast on the go…

If you’re like me… Breakfast is one of the hardest meals to make. I am not a big egg eater… and neither are my kids, although my husband will enjoy one now and again. I find it hard to come up with some recipe ideas for something quick and easy.  Especially when we’re always running out the door first thing in the morning most days.

So what’s a mom to do when you work full-time and you need to have a healthy quick breakfast that you can grab and go with? Breakfast sandwiches, breakfast burritos and many of these other types of quick breakfasts are good too, but I just found a quick and easy recipe that turned out to be very yummy and simple to make when you have a busy schedule.

Only three ingredients:

  • 2 to 2 1/2 cups of rolled oats (I found 2 1/2 cups worked out better)
  • Half a cup of honey or half a cup of maple syrup (your choice and I preferred to only use 1/4 of a cup)
  • One cup of peanut butter (natural is better for less sugar)
  • Mix all three ingredients together, place a piece of wax paper in a baking dish, add your mixture to the dish and pressed down firmly to even out the mixture in the dish. Put it in the refrigerator for several hours or even overnight, and then enjoy.

Let me know if you have any other ideas for a quick and easy breakfast. Send a comment below with your recipe.

Lynn A. C. Wilson –  Resume of a Mother

img_1773-4

Autism and Routine….

Routine is something hard to create and stick with in our lives….but it is a necessary thing.  I watch a You-Tube channel with “Andrea Mills”.  She talks about doing things routinely if they are important enough to you. Check out her website and channel for this topic and more.

https://www.andreamills.tv

With any type of special needs and we have two types in our family, I find as a homemaker that I need to create a way of organization for them; and not necessarily for me.  With epilepsy and Autism in our home, I find that this affects everything that we do!  For example, just leaving the house to go out for the day…we need to make a list on the back door of what we need to bring with us.  This way my husband who has Epilepsy, whether it be a good day or not, does not have to think about what to bring. Especially when it is an “off” day for him, he just looks at his list on the door.

(example list for the door)

  • travel bag
  • pills
  • water bottle
  • phone
  • phone charger

For our son has Autism.…so for his needs we have created labels in the refrigerator and also a routine of where to put things.  This way there is no frustration of where things go.  We also labeled where all of our coats go.  Again, this way it keeps things simple and organized!

We have created a “white board” system to help with all those daily questions that you find Autistic kids always asking.  They want to know what the next days meals will be 24 hours ahead of time. Our board includes 3 meals, 3 chores, 3 school events (we homeschool), and whatever the special event of the day is also.

This has proven to relieve many meltdowns, and crazy evenings in our home.  When he asks the questions that he always does by 5pm sharp, we can just refer him to the white board.

Special needs can be a struggle to the caregiver as well as the person who struggles with it.  Why not make life as routine as you can to avoid any chaos and confusion.  There will always be other issues to deal with, but when things are routine it helps out a great deal.

Lynn A. Wilson – Resume of a Mother

Amish Homemade remedies…and Natural finds.

I have always leaned on the side of natural meds.  And the more and more I learn about natural ways I enjoy practicing using them more often!

My family and I have not been on any form of antibiotics for over 25 years now….people look at us strange when we say this.  We use a natural one made from a plant and it works.  We have not suffered side effects from it and it works even better for us.  With having Autism and Epilepsy in our family ……I have found that natural as help us way more than regular prescribed medication.

Now I DO NOT claim to be a doctor or a medical professional.  I am just a mom who practices being a “wise woman” who builds her house with the Lord’s guidance.  We use natural plant remedies, essential oils, chiropractic applications and I have recently found some GREAT finds from our Amish community too …. all natural plant based items.

A few months ago…my girlfriends and I went for the day out to PA for a road trip.  We take this trip about 4 times a year for the day from NJ. We stopped at one of my favorite shops for some homemade Amish pies and breads now also sells natural remedies.  I picked up a few things along with two of my friends and we tried it for a month and ….WOW, we were hooked!  So a month later when I went back out to PA with my hubby, I was given a list by my friends to buy these same items and anything else they had.

I love learning and learning about things that can help my family is even better!  I will be taking an on-line training class in the spring for essential oils, so that I can learn even more.  As I learn things and experience the pros and cons of natural remedies ….I will share this with you!

Share with me what natural remedies you have used and how they have worked for you. I would love to hear from you and exchange ideas.  Comment below or email me!  Find me on Facebook and Instagram too for more pics.

Lynn A. Wilson – Resume of a Mother